Showing posts with label acid dyes. Show all posts

Tuesday, 20 April 2010

Some Works in Progress

I put the Biggy Smalls sweater down for the week. It's hard to carry it around with me and pull it out on the subway at this point, but I haven't been home too much either. I have 6 more inches of sleeve to go. I should just finish it and deal with my little mishap later (which just looks a bit smudged and fuzzy at this point). It is my goal to finish it this weekend.


After a 90 degree day a couple weeks ago, I went ahead and cast on for Pucker.


It's a simple summery top by Norah Gaughan from her Volume 4 book of designs for Berroco.


I'm using Berocco Seduce in the Jaunes Vermeer colorway, which is a really interesting blend of silk, rayon and linen. It's like knitting with straw, but when you wash the fabric it turns fluid, drapey and graceful. Stitch consistency is kind of a problem as it has no forgiveness at all. I love the sunny yellow color.


Well, that was a letdown. It was hard to get a good representation of the yellow in an indoor photo. There are some gold highlights in it. The picture makes it looked washed out and weak when it's really more sunshiny and bold. I'll try harder next time.


I also cast on for a Lobster. It's probably not a great choice of project for me as I hate finishing and finicky little sewing jobs. Still. A lobster is needed. So far I have the tail done:


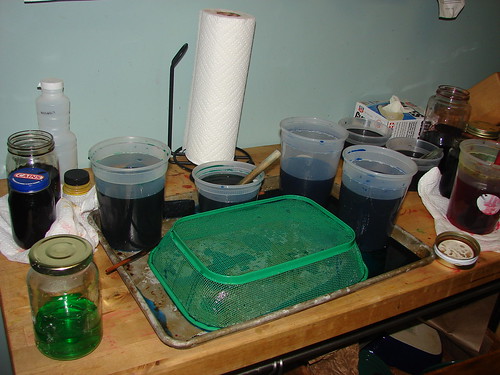
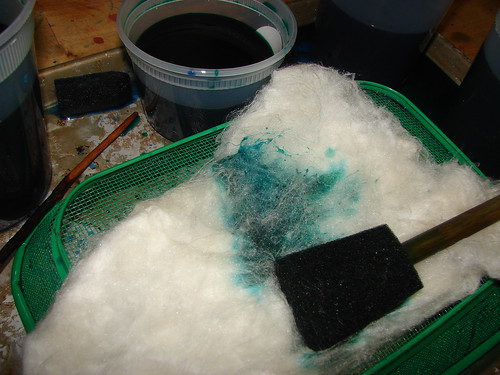
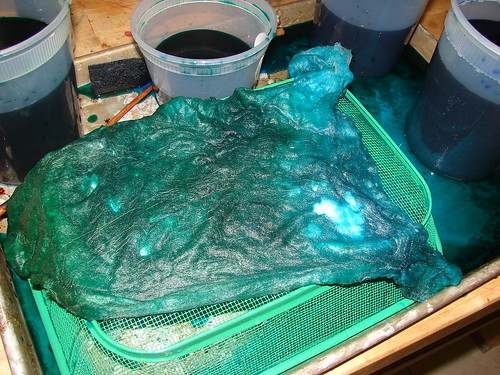
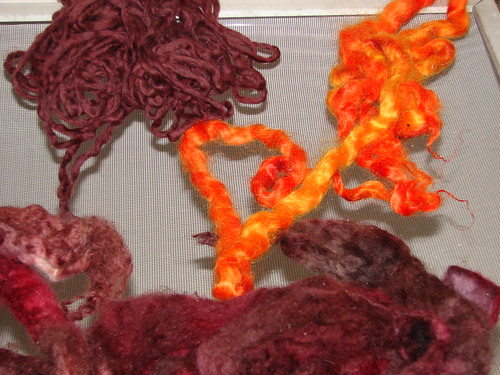
The yarn was some leftover worsted weight mystery stash from eons ago. It was white so I dyed it something close to a boiled-lobster red.

Oddly enough, I'm making something else that has a shell:


These are the Norwegian Snail Mittens by Adrian Bizilia. I love Escargot. They taste so good. It's very earthy tasting...kind of like mushrooms but with more tooth. Plus, I could mainline drawn butter and garlic, so it makes the consumption of that a bit less conspicuous. Also, I love these mittens. They are my second A-Z stashdown challenge in Artyarns Ultramerino. I also used some leftover Shubi Sock Yarn in Seaweed for the cuff. It adds a bit of slime to it.


I had two skeins of the Ultramerino in fingering weight in my stash. I overdyed one darker blue so I could do the colorwork.

The cuffs are a bit involved- They have a lot of decorative elements that take some time and patience. I'm on to the actual stranded pattern now and it's moving along now.

Hopefully I'll have a FO or two to show off next week.

Tuesday, 23 February 2010

Mittens! The Answer is Mittens!

Why yes, I do enjoy being at my wit's end, why do you ask?

My A-Z project has not gotten off to a glowing start.


This, my friend, is the Shetland Shortie. Or was.


About halfway through it, I realized I had managed to spontaneously mess up the lace pattern in the same spot every single row for the past 10 rows. The begining of the row was great and the lace was stacking up on the diagonal, and then all of a sudden in the middle, I lost my mind and suddenly I had lace stacking up vertically. I have no idea how I did this, but I kept on doing it.

So last night I frogged it and threw half of the yarn in the dyepot. I forgot about it, let it boil vigorously for an hour before remembering it was on the stove, and now I look forward to untangling the fruits of my labor/absentmindedness. At least it was superwash and it didn't felt at all!


It's pretty.

I'm making these now:


They are the Double-Thick Mittens by Adrian Bizilia from "The Knitters Book of Yarn". I'll be casting on soon as both the sweaters I am currently working on have gotten to the point of subway knitting impossibility. I feel less frustrated already.

Tuesday, 10 November 2009

Dyeing Silk Bells

Last week I was able to set aside some time to dye silk bells. While this can be kind of a long and picky process, the end results are beautiful.

Silk bells (or caps, or hankies) are a bundle of bombyx silk cocoons that have been stretched over a frame in layers. I usually buy them in half oz bundles...I wouldn't recommend dyeing more than that at a time unless you want a lot of white to show. They are fun to spin, and you can actually just draft and knit them without spinning if you would like. I'll have more about this process another day.

First thing to keep in mind is that this silk does not want to be wet. When the caterpillar makes itself the cocoon, it coats it with silk gum (sericin) that it produces in order to give the cocoon structure. When you buy silk in roving or top form, it's been de-gummed so it's a bit easier to persuade to take dyes. When they make bells, they don't de-gum as much. It makes it easier to spin, but it also makes it harder to dye.

If you want to dye them (and who doesn't? silk is gorgeous dyed) you need to soak your caps. I put mine in my clean dye pot with about a half gallon of water and a pretty good glug of vinegar.

crafty 001

I weigh them down with something smooth and heavy. The actual bottle of vinegar ended up in there this time. Every couple hours, I would take the bottle out and smoosh all the silk down to try to get it wetter. I actually got busy with some other projects at this point and I ended up leaving them to soak for a couple of days. I would normally allow at least a couple hours time for this, so don't plan on getting to dyeing right away.

Once the bells seem like they are thoroughly soaked, I put on a pair of rubber gloves and gently wring them out. I've been pretty good about the manicures lately, but wet silk will grab on to any rough spots on your skin. It's just easier to handle with gloves and I'm going to wear them to dye anyway.

I get out my acid dyes and a cookie sheet and this nifty wire basket that I got at the dollar store:

oct2009 252

I put the bell on the basket. Then I start carefully applying the dye. I want the silk to get saturated, and sink all the way through. If I did this process just on a cookie sheet, the dye that doesn't get absorbed is just going to pool up on the bottom and make mud. That's fine if you are just doing one color, or don't mind what it looks like when your colors mix. If you want distinctive colors, you'll want to put the bell up on something so the excess dye can drip out when it reaches the other side.

oct2009 254

I use a combination of pouring the dye on the bell directly and then using an applicator sponge to pat it in. I want dye to soak all the way through the layers. I peek a lot on the inside of the bell to check for any white spots. When I've got the coverage on one side, I flip the bell over and repeat on bottom side. These will take up a ton of dye and it will take a bit of coaxing and fussing but the results will be worth it.

oct2009 255

After I'm happy with the dye job, I wrap it up in plastic wrap and let it sit for a few minutes to cure. Then I put it in the steamer basket and put it over simmering water for 20-30 minutes. Silk's luster is damaged by too much heat, so I'm careful that my water doesn't run out from under the steamer and that heat is fairly low.

Once the color is set, I let it cool for a bit. Silk doesn't felt with heat (although agitating will mess up the bell structure and it won't be as easy to spin) but steam does burn me. I try to be patient and let it sit there for a bit before breaking it open and checking it out. I then rinse in a bit of soapy water to get any leftover dye out and let it dry. The end result looks something like this:

oct2009 339

or this:
oct2009 331

and this:
oct2009 326

I have some of these listed on my Etsy store, and there will be more listed in the coming days.

Tuesday, 29 September 2009

The Dyepot finally gets some love

Sunday morning I awoke to the pitterpat of a torrential downpour gently lulling me out of my slumber. Cool, rainy weather means only one thing: time to stew up some dyes.

I pulled out my long-neglected dyepot and the acid dyes and begun to mix colors. Whatever my mood is tends to be reflected in the final product...and for whatever reason my mood was purple that day. I feel bruised, perhaps? Naw, more like hungry for plums and eggplants and grapes. Oh, and squash as well.

Here are my victims:

sept2009 468

I went stash-diving and pulled out some boring white wool I had tucked away. 4 oz of BFL, 2 oz of a nice Falkland and 2 oz of kid mohair.

Mohair sucks up dye brilliantly. It has high luster and it absolutely begs to be something flashy.

sept2009 470

I had a squash on the the countertop and a huge sugar pumkin from the food share that made do this. Now if I can only figure out what the pumpkin wants to be. Please, don't say pie. We don't need pie.

Another victim of the dyepot was a bag of white Icicle.

sept2009 457

I had an 8oz bag that came along with my carder. It's a little sparkly but not too glitzy. It's made up out of nylon, but I was cautious with it- i was afraid that I might melt it into something toxic, or worse, uncardable, so I really kept the heat down. I applied dye and really had to press it to convince it to soak up the dye. Even after soaking it in the dye jar, i was still seeing a lot of white in the center. Nylon does not wick like wool does, and it is far from absorbent. Since this was going to be thrown on the carder eventually, I didn't take too much time worrying about it.

Here are the end results:

sept2009 473

OH my MOHAIR. That is bright! And I'm very happy with the falkland and the bfl.

And here is the Icicle:
sept2009 472

The purple I used on the Icicle was the same that I used on the BFL! Crazy, right? It's completely different on the nylon.

I still have a bunch of silk and some faux cashmere (don't ask. or go ahead and ask. I'll tell you about it later) and some more white wool that needs its turn in the dyepot, and also some lovely cashmere and angora and cashmere silk blends that need an extra special day in the dyepot when I'm feeling especially brave.

It's almost enough for me to wish for another rainy weekend.