Silk bells (or caps, or hankies) are a bundle of bombyx silk cocoons that have been stretched over a frame in layers. I usually buy them in half oz bundles...I wouldn't recommend dyeing more than that at a time unless you want a lot of white to show. They are fun to spin, and you can actually just draft and knit them without spinning if you would like. I'll have more about this process another day.
First thing to keep in mind is that this silk does not want to be wet. When the caterpillar makes itself the cocoon, it coats it with silk gum (sericin) that it produces in order to give the cocoon structure. When you buy silk in roving or top form, it's been de-gummed so it's a bit easier to persuade to take dyes. When they make bells, they don't de-gum as much. It makes it easier to spin, but it also makes it harder to dye.
If you want to dye them (and who doesn't? silk is gorgeous dyed) you need to soak your caps. I put mine in my clean dye pot with about a half gallon of water and a pretty good glug of vinegar.
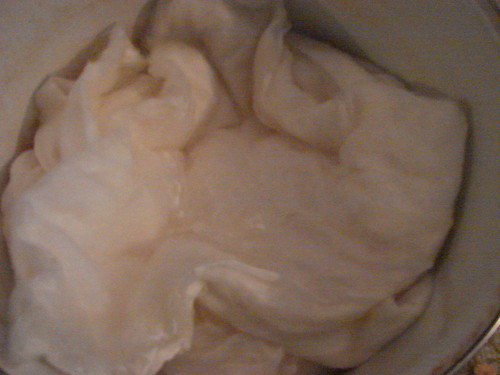
I weigh them down with something smooth and heavy. The actual bottle of vinegar ended up in there this time. Every couple hours, I would take the bottle out and smoosh all the silk down to try to get it wetter. I actually got busy with some other projects at this point and I ended up leaving them to soak for a couple of days. I would normally allow at least a couple hours time for this, so don't plan on getting to dyeing right away.
Once the bells seem like they are thoroughly soaked, I put on a pair of rubber gloves and gently wring them out. I've been pretty good about the manicures lately, but wet silk will grab on to any rough spots on your skin. It's just easier to handle with gloves and I'm going to wear them to dye anyway.
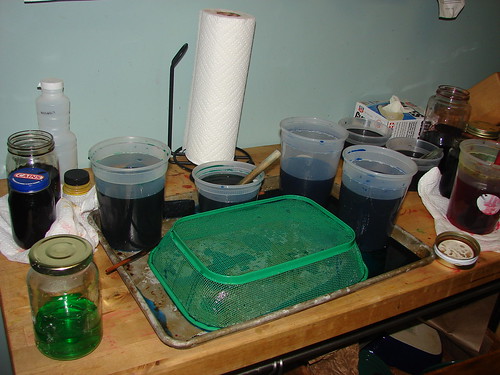
I get out my acid dyes and a cookie sheet and this nifty wire basket that I got at the dollar store:
I put the bell on the basket. Then I start carefully applying the dye. I want the silk to get saturated, and sink all the way through. If I did this process just on a cookie sheet, the dye that doesn't get absorbed is just going to pool up on the bottom and make mud. That's fine if you are just doing one color, or don't mind what it looks like when your colors mix. If you want distinctive colors, you'll want to put the bell up on something so the excess dye can drip out when it reaches the other side.
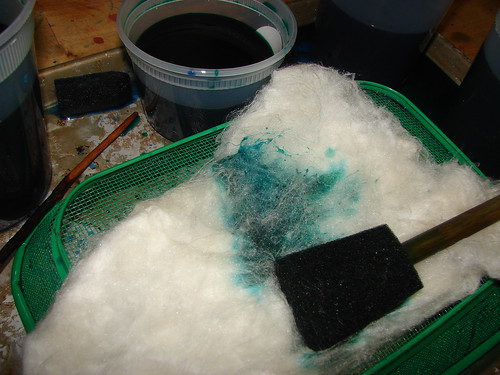
I use a combination of pouring the dye on the bell directly and then using an applicator sponge to pat it in. I want dye to soak all the way through the layers. I peek a lot on the inside of the bell to check for any white spots. When I've got the coverage on one side, I flip the bell over and repeat on bottom side. These will take up a ton of dye and it will take a bit of coaxing and fussing but the results will be worth it.
After I'm happy with the dye job, I wrap it up in plastic wrap and let it sit for a few minutes to cure. Then I put it in the steamer basket and put it over simmering water for 20-30 minutes. Silk's luster is damaged by too much heat, so I'm careful that my water doesn't run out from under the steamer and that heat is fairly low.
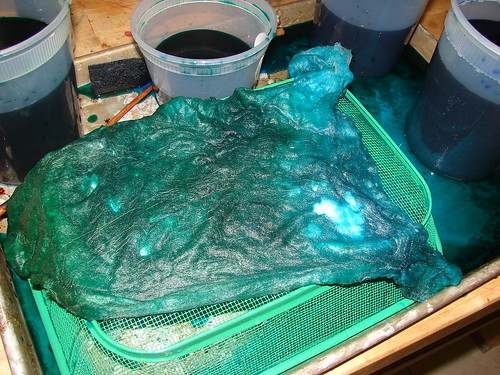
Once the color is set, I let it cool for a bit. Silk doesn't felt with heat (although agitating will mess up the bell structure and it won't be as easy to spin) but steam does burn me. I try to be patient and let it sit there for a bit before breaking it open and checking it out. I then rinse in a bit of soapy water to get any leftover dye out and let it dry. The end result looks something like this:
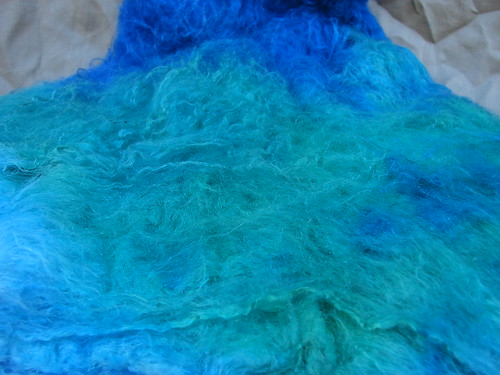
or this:

and this:

I have some of these listed on my Etsy store, and there will be more listed in the coming days.
This was such an interesting post--thanks!
ReplyDelete